

Overview
This article provides details and step-by-step instructions on how to install custom certificates.
Supporting Product
- DTEN Bar with v1.2.1 and above
- DTEN D7X Android with v1.5 and above
- DTEN ME Pro with v1.18 and above
- DTEN ME with v1.18 and above
- DTEN GO and Mate, DTEN Mate (PoE) for Zoom Rooms, DTEN Mate (WiFi) for Zoom Rooms with v1.13.5 and above
- DTEN ON with v1.12 and above
- DTEN ONboard with v1.5 and above
Setup Instruction
Step-by-step instructions
1. Ensure that your computer and the supported DTEN systems are connected to the same local network.
2. Open a web browser on your computer and visit https://your
DTEN device ip:4443, for example, https://56.52.200.50:4443,
You can find your device's IP address in the DTEN Dashboard- Help. You can access the DTEN Dashboard by pressing the Menu button or the hardware button on the back of the device.
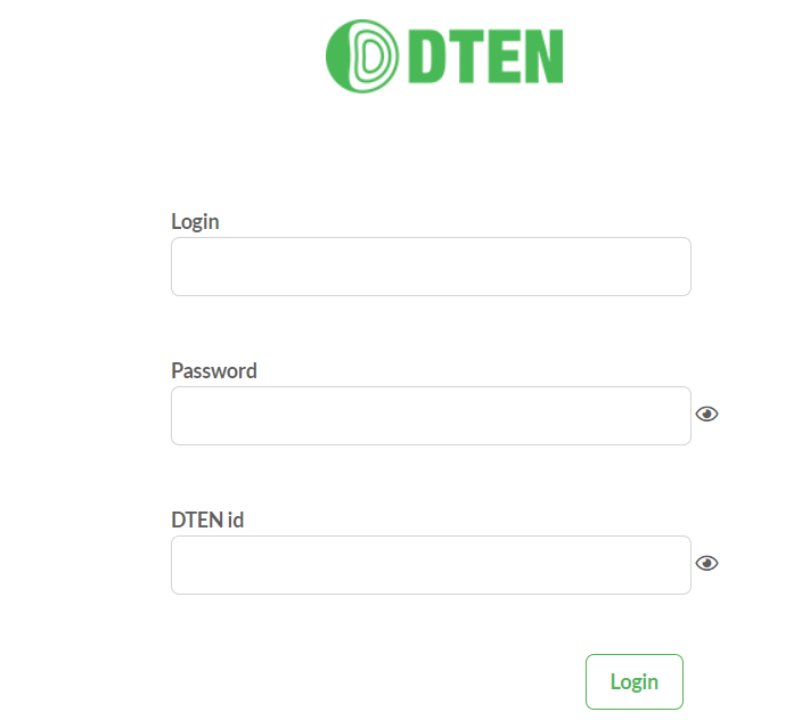
3. Enter your username, password, and device ID, then log in (the username and password can be changed, but default is listed below)
- Default Username : DTEN_DTEN
- Default Password: DTEN1@webgu!3836
- Enter: DTEN ID
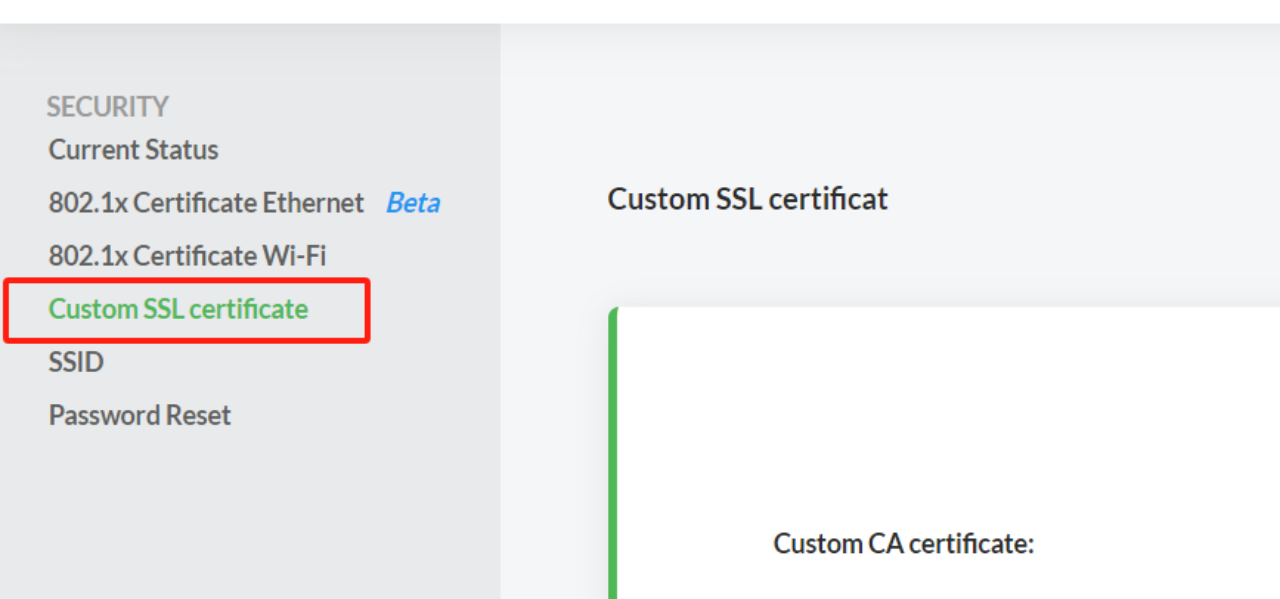
4. Select "Custom SSL."
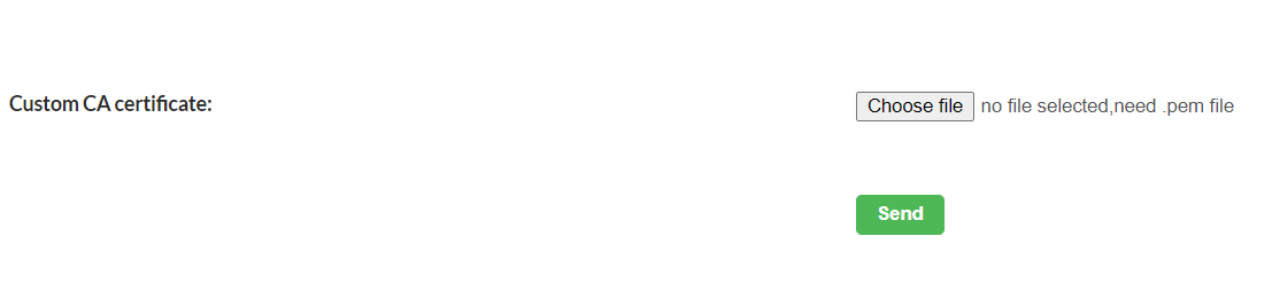
5. Upload your certificate file and click "Send."
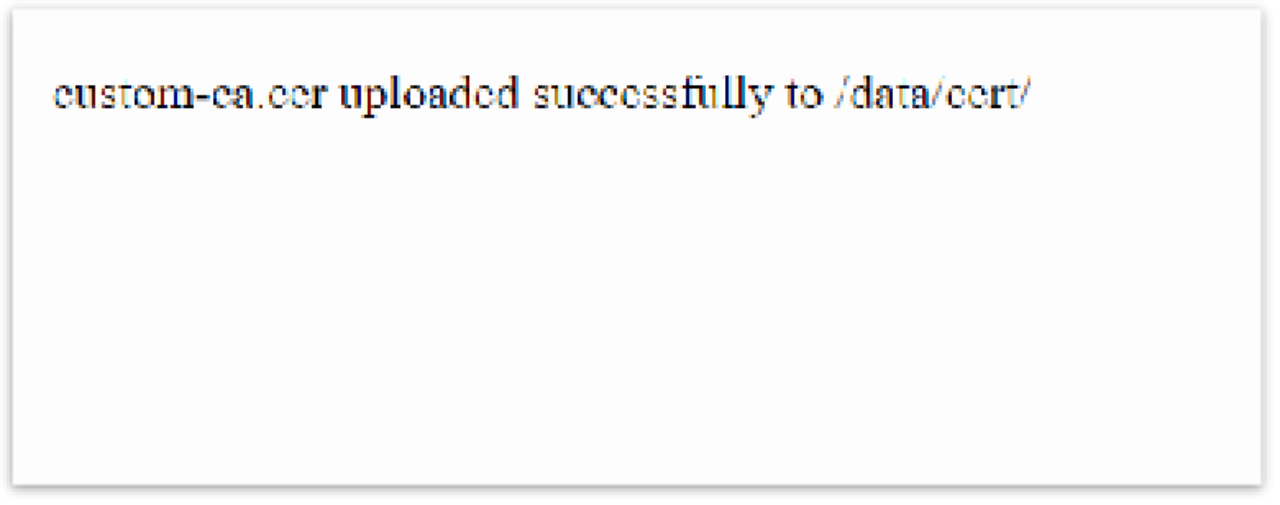
6. When you see this prompt, it means your certificate has been sent to the device and is installed. Now your appliance can use the certificate without any issues.
If you have additional questions or need to contact DTEN Support, please refer to this DTEN Knowledge Base article for more details: HERE.
Was this article helpful?
That’s Great!
Thank you for your feedback
Sorry! We couldn't be helpful
Thank you for your feedback
Feedback sent
We appreciate your effort and will try to fix the article