
Table of Contents
DTEN GO - Out of the Box
DTEN MATE - Out of the Box
INITIAL SETUP
How to Connect Your DTEN Device
Display Connection Scenarios
DTEN DEVICE NETWORK SETUP
DEVICE MODE SELECTION – MIRROR OR ZRC
Mirror Mode
Zoom Room Controller (ZRC) Mode
ORBIT ACTIVATION (OPTIONAL)
Table of Figures
Figure 1. DTEN GO back panel
Figure 2. Typical connection between DTEN GO and Flat Panel Display
Figure 3. Typical connection between DTEN GO and 2 Flat Panel Displays
Figure 4. DTEN GO Smart Connection
Figure 5. Green indicator light that appears when DTEN GO is powered on
Figure 6. Message displayed on DTEN Mate Screen
Figure 7. DTEN Mate power button
Figure 8. DTEN GO option
Figure 9. DTEN Right Single Camera and Scanning Frame
Figure 10. DTEN GO device indicator and DTEN Mate QR code
Figure 11. Continue button after completion of pairing process
Figure 12. Recommended display setting - sharpness set to 0
Figure 13. Network Connection options
Figure 14. Wi-Fi Network Options
Figure 15. Time Zone options
Figure 16. DTEN Mirror mode and Zoom Rooms Controller mode options
Figure 17. DTEN Mate Menu to change DTEN Mate mode
Figure 18. Zoom Room Controller Mode
Figure 19. Orbit Activation Screen
Figure 20. Zoom Rooms Console – appears if you choose “Continue Later” for Orbit Activation
Figure 21. Orbit Activation Screen to Scan QR Code
Figure 22. Orbit Activation Screen to enter code (if you already have an account)
Getting Started

-
When you unpack your DTEN GO and Mate devices, you will find the following components:
| DTEN GO COMPONENTS/ PARTS LIST | |
| How it looks just out of the box |
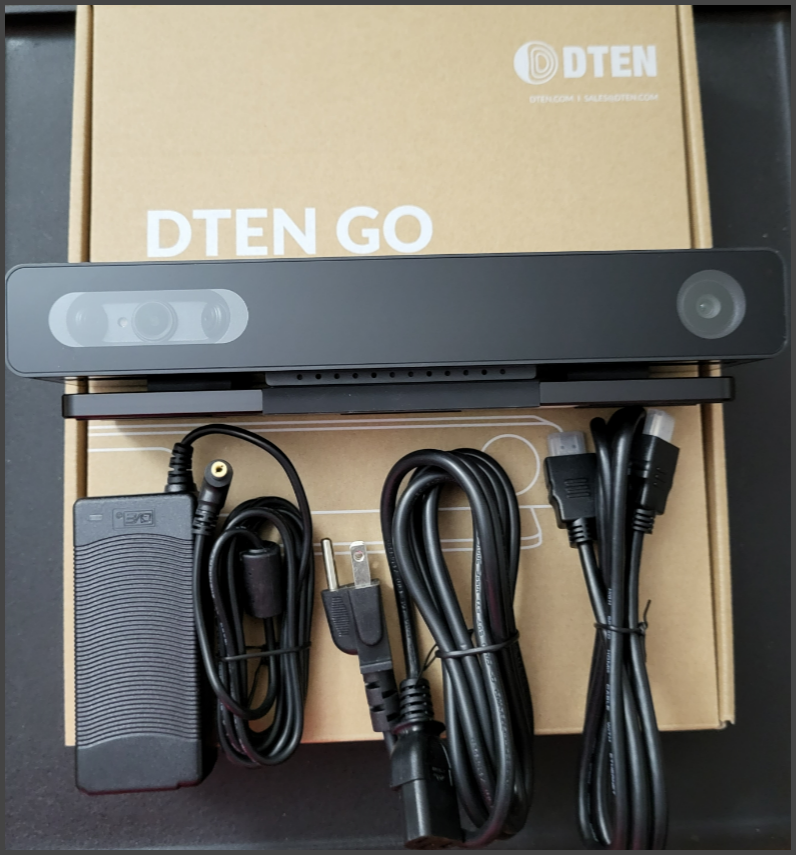 |
| DTEN GO DEVICE | 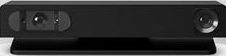 |
| HDMI Cable x 2 | 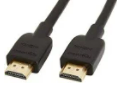 |
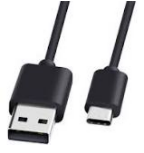
| SmartConnect Cable | 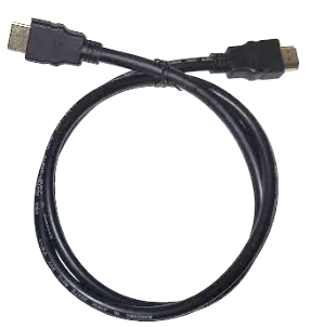 |
|
Transformer Power Adapter & Power Plug Cable |
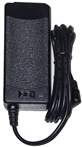 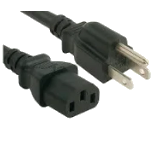
|
Table 1. DTEN GO Components out of the box
DTEN Mate - Out of the Box
| DTEN MATE COMPONENTS/ PARTS LIST | |
| How it looks just out of the box | 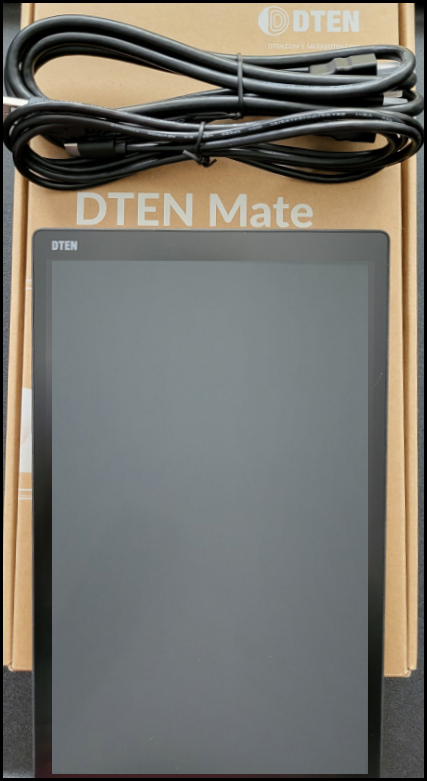 |
| DTEN Mate Touch Screen | 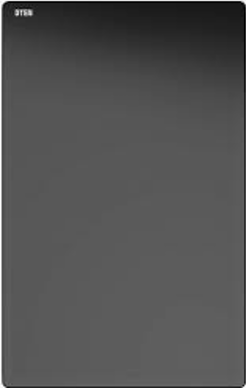 |
|
USB-A (M) to USB-C (M) Cable (for charging only) |
 |
|
Power Adapter (USB) |
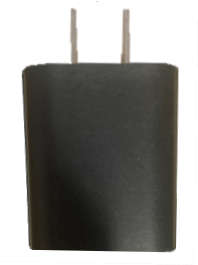 |
Table 2. DTEN Mate Components out of the box
Initial Setup
How to Connect Your DTEN Device
- Unbox the DTEN GO.
- Connect the AC power cord to AC power adapter.
- Plug the AC power adapter cord into AC jack that is located on the back panel of the DTEN GO (Figure 1, F).
-
Plug the HDMI cable into the female HDMI port on the back panel of the DTEN GO (Figure 1,
D) and connect the other end to an HDMI input jack on a display.
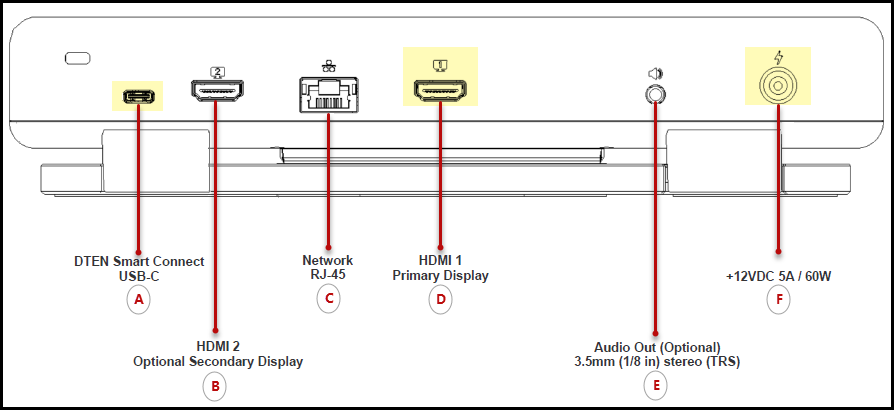
Figure 1. DTEN GO back panel
Shown below, are examples of connections to one or more displays:
Display Connection Scenarios
a) One flat display (Figure 2).
b) Two flat panel displays (Figure 3).
c) One display with a smart connection to a laptop (Figure 4).
Note: The DTEN Go must be connected to a display device to facilitate the pairing process.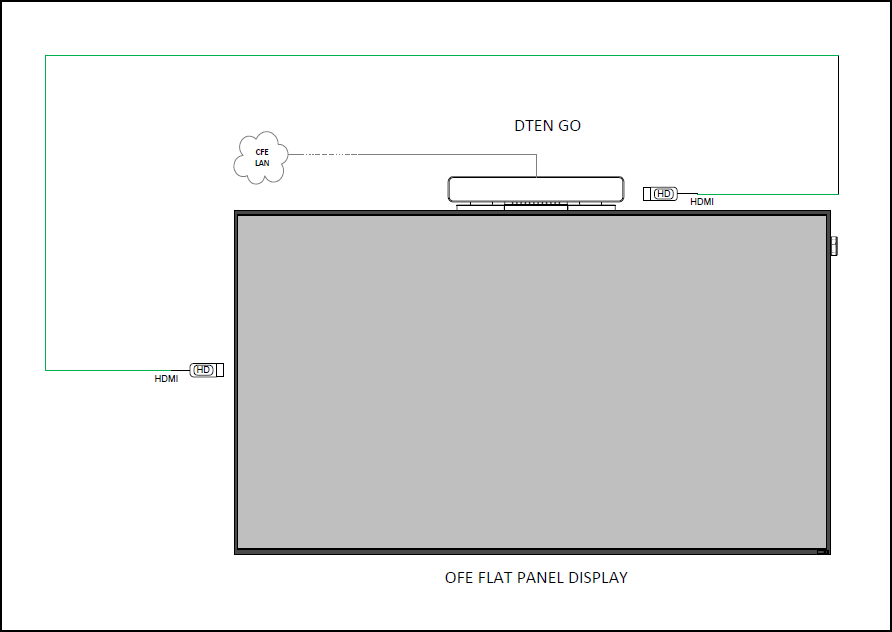
Figure 2. Typical connection between DTEN GO and Flat Panel Display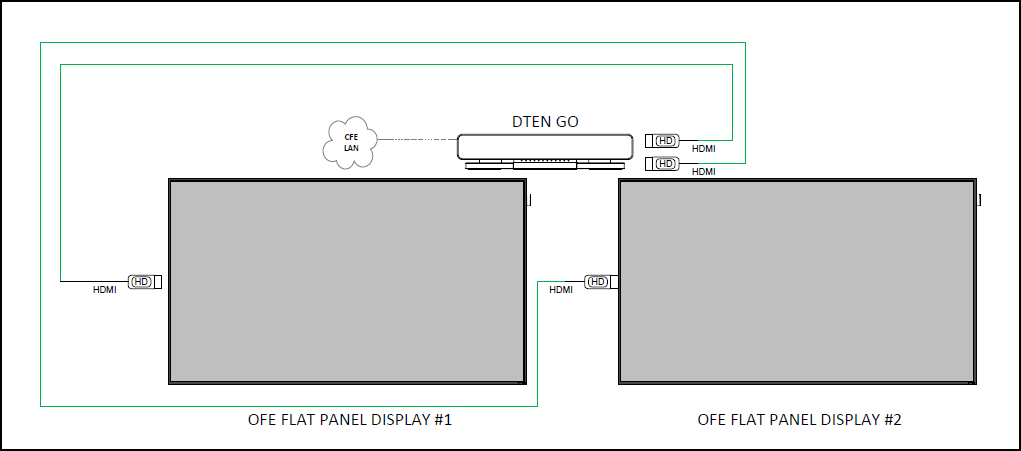
Figure 3. Typical connection between DTEN GO and 2 Flat Panel Displays
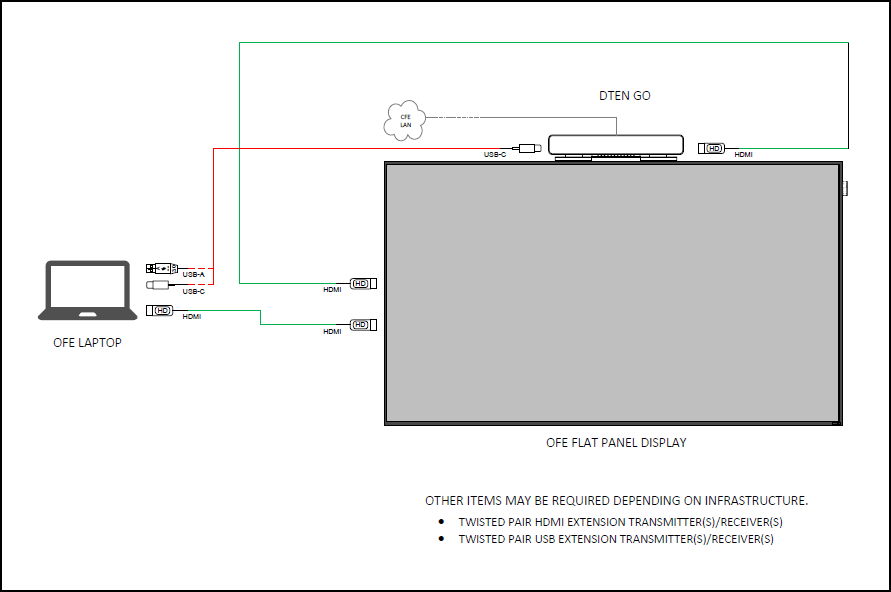
Figure 4. DTEN GO Smart Connection
-
Confirm that your DTEN GO is connected to power. It should automatically power on once it is plugged in. You will see a green indicator light in the upper-right corner of the front of the device
(Figure 5).
Note: If your DTEN GO is powered off, you may see a reminder message briefly displayed on your DTEN Mate screen (Figure 6).
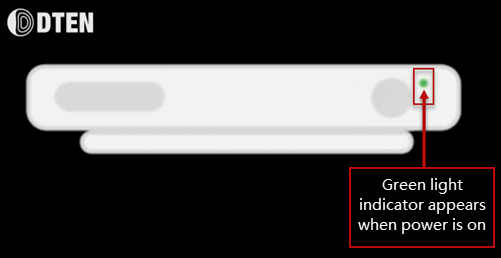
Figure 5. Green indicator light that appears when DTEN GO is powered on
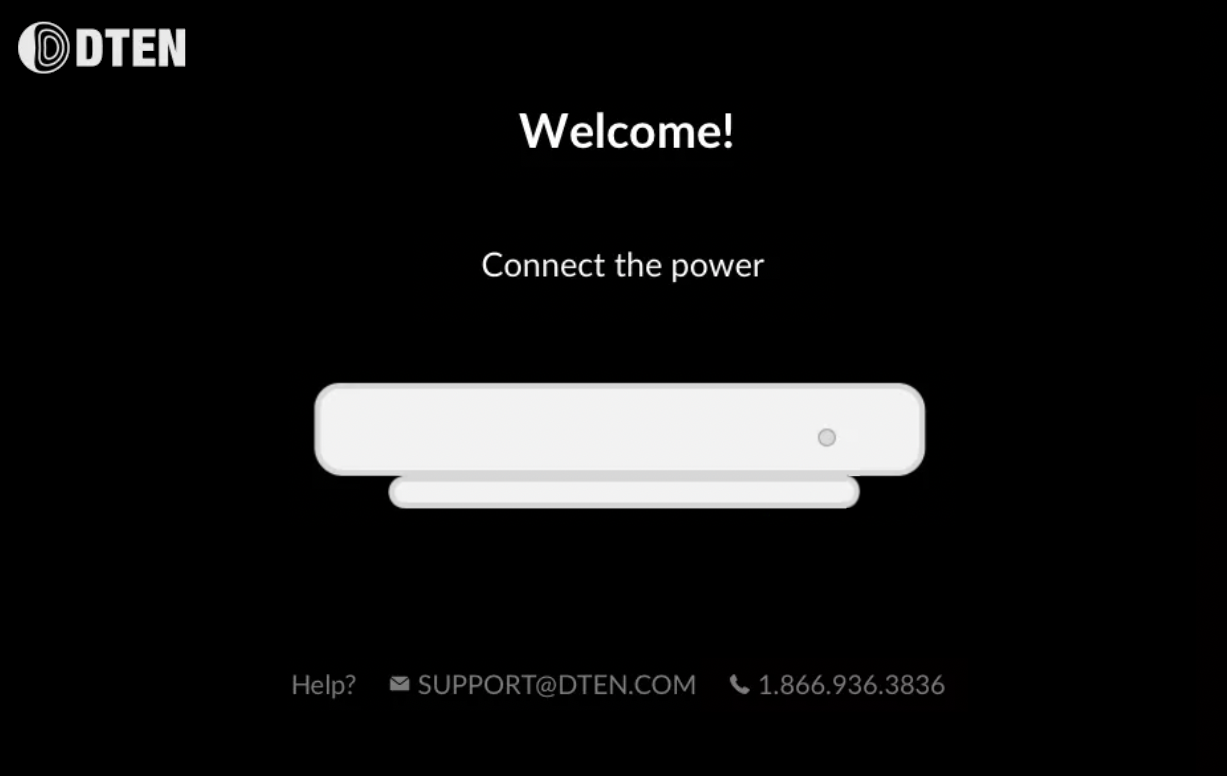
Figure 6. Message displayed on DTEN Mate Screen
-
Turn on your DTEN Mate by pressing the power button in the back of the device (Figure 7).
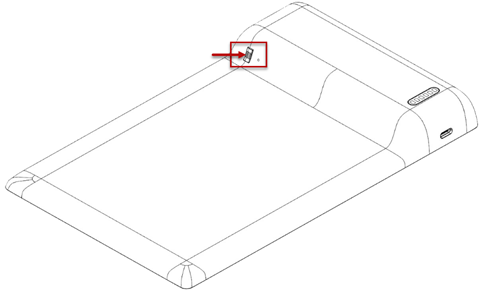
Figure 7. DTEN Mate power button
Once all devices are powered up, you will see the Welcome screen displayed, inviting you to either pair the DTEN mate with your DTEN GO (Figure 8, left), or connect to another DTEN device or Zoom Room device (Figure 8, right).
-
Tap the DTEN GO image (Figure 8, left) to select it and start the pairing process.
Note: Your DTEN Mate is configured to work only with the DTEN GO, therefore the other option “Other Zoom Room Devices” is not available.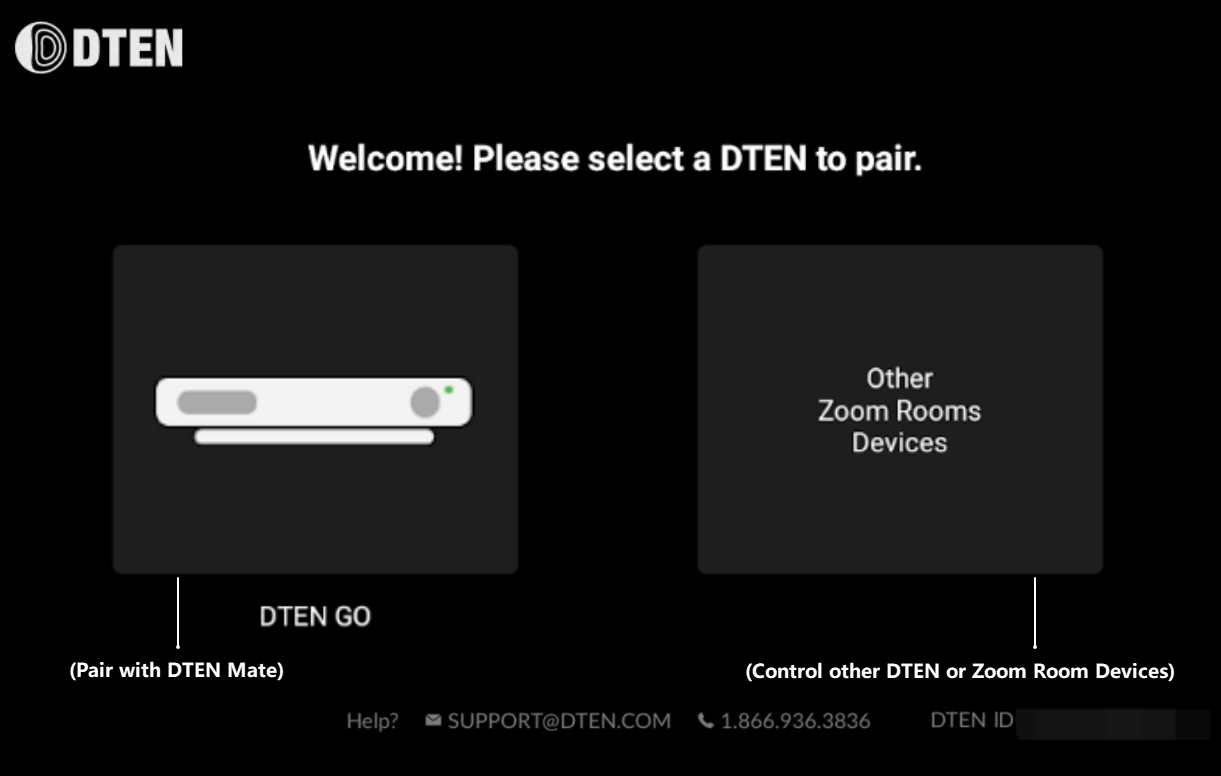
Figure 8. DTEN GO option
-
Position the DTEN Mate so that the QR code (Figure 9, left image) is facing the right single- camera of the DTEN GO. A blue scan light will display (Figure 9, right image).
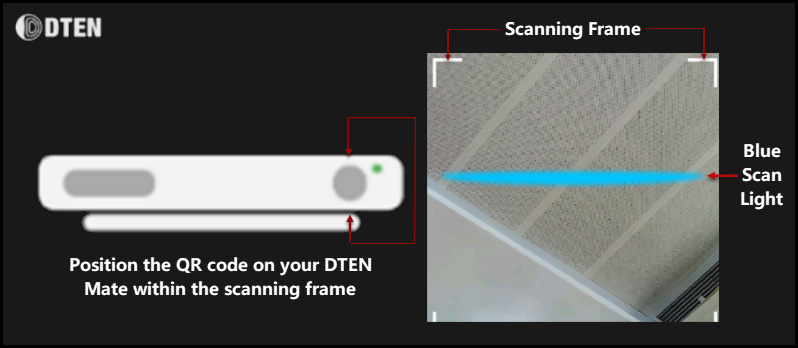
Figure 9. DTEN Right Single Camera and Scanning Frame
After scanning is completed, the two devices will begin pairing. The pairing process may take a couple minutes. When it is done, the following will occur:
a. The green LED on the DTEN GO will flash (Figure 10, left image)
b. A green check mark will display (Figure 10, right image).
c. A message “Pairing Success!”(Figure 7) will display to confirm that devices are paired.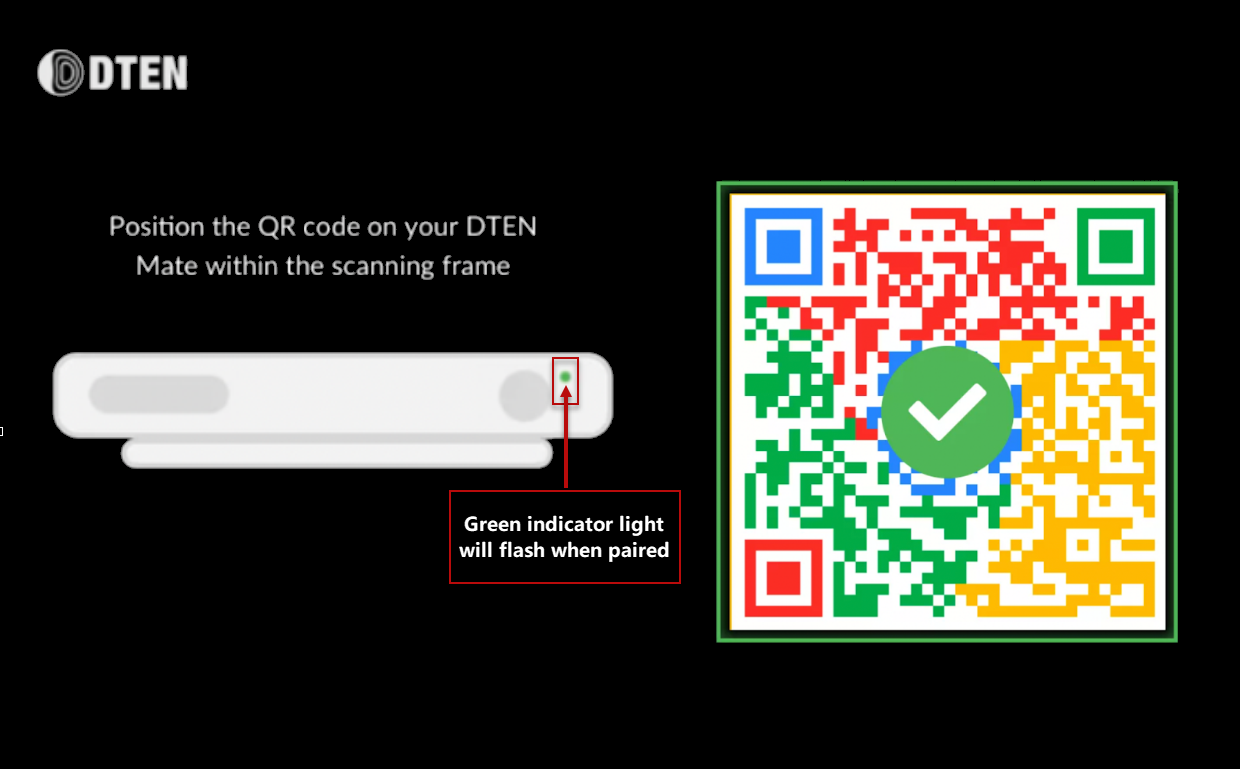
Figure 10. DTEN GO device indicator and DTEN Mate QR code
-
Press the Continue button. (Figure 11).
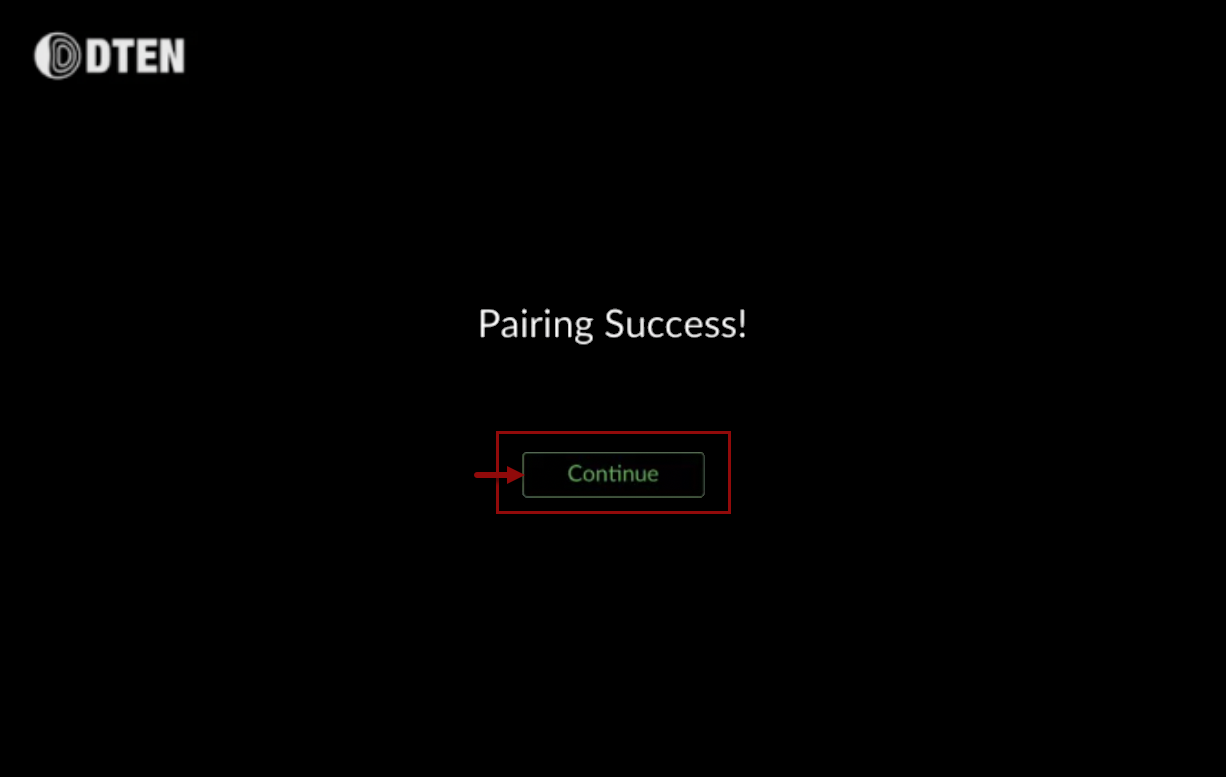
Figure 11. Continue button after completion of pairing process
With the devices successfully paired, you can now use the DTEN Mate to control the DTEN GO.
-
Adjust the sharpness of your display. The setting “0” is recommended (Figure 12).
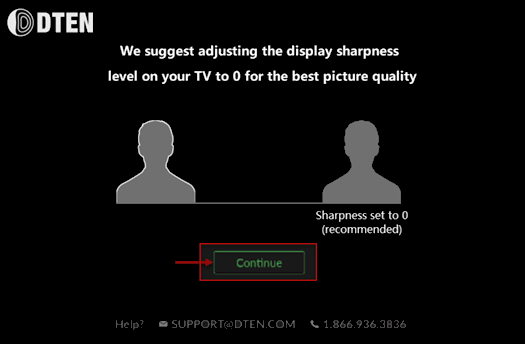
Figure 12. Recommended display setting - sharpness set to 0
DTEN Device Network Setup
Next, you must connect your devices to a network. You can choose between Ethernet (provides more consistent connection, and thereby more stable performance) and Wi-Fi (allows more flexibility in moving your devices.)
-
Select a network connection.
Note: Be prepared to enter your WIFI password if you choose to use the WIFI option.
a. For an Ethernet connection, tap the blue connector icon above the instruction “Connect
your device using Ethernet” (Figure 13). (This option is preferred as it provides a more
consistent experience and is easier to set up.)b. For a Wi-Fi connection, tap the blue phrase that says “Select Wi-Fi Network instead” (Figure
13).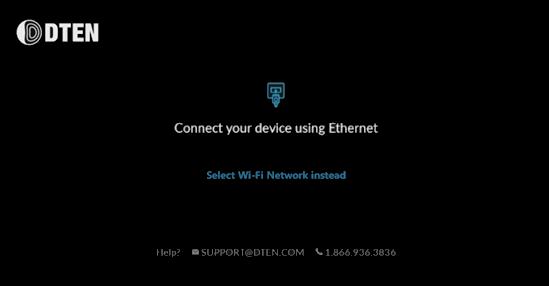
Figure 13. Network Connection options
-
Choose the appropriate network based on your environment (Figure 14).
Note: If you are an installer, it is expected that you will use the approved WAP provided by IT
admin.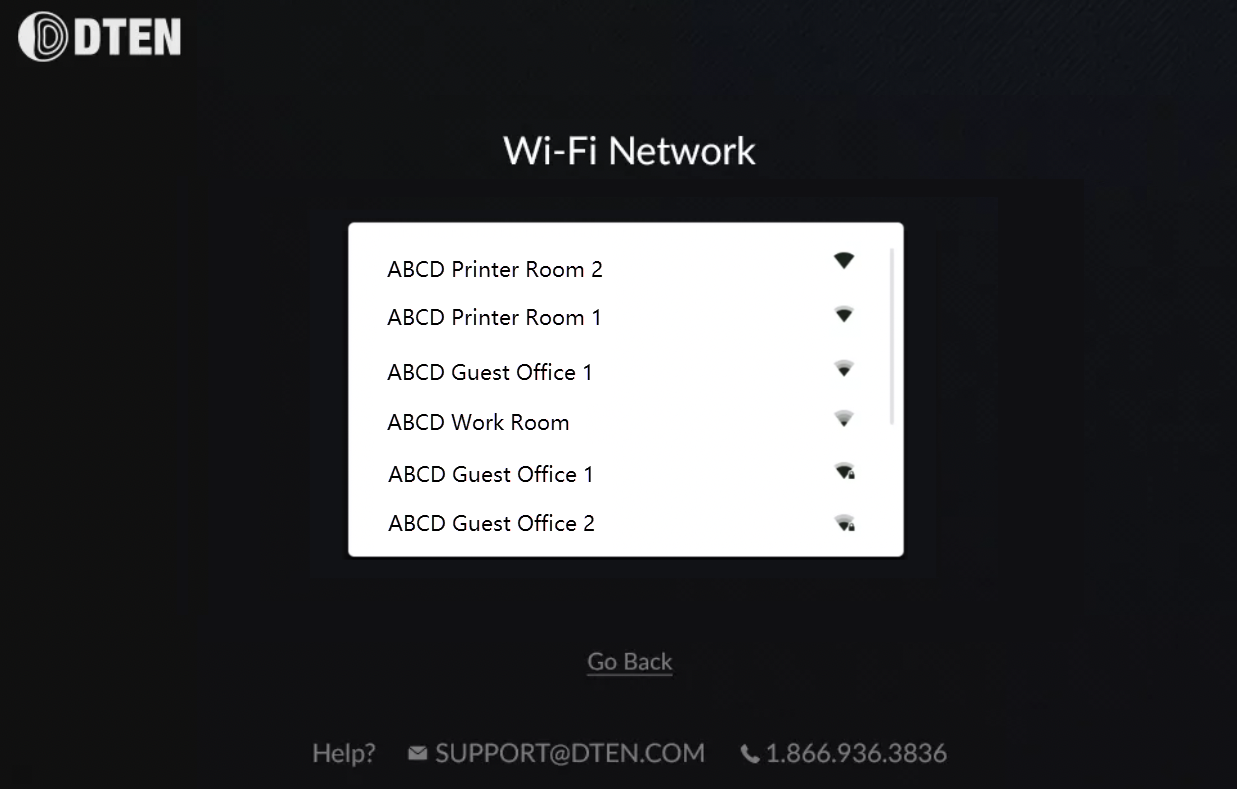
Figure 14. Wi-Fi Network Options
-
Select a time zone (Figure 15). You may need to scroll down to view the desired time zone.
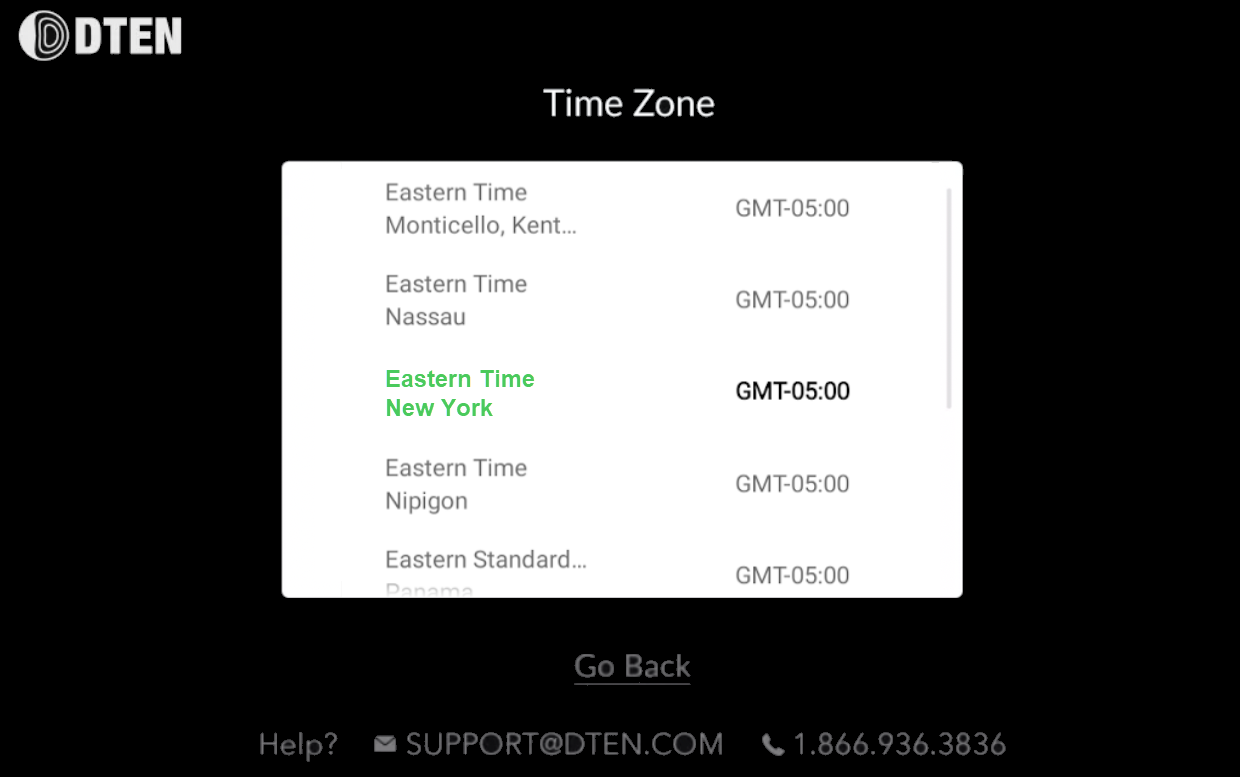
Figure 15. Time Zone options
Device Mode Selection – Mirror or ZRC
-
Next, you will have the opportunity to choose the operation mode for your DTEN Mate.
Note: The option you select will become your default mode. Later, if you wish to change it, you
will need to press the DTEN logo to access the DTEN Mate Menu, where you can choose to switch modes (Figure 17).
Mirror Mode
Mirror mode will display the same content on both the DTEN Mate and the display that is attached to the DTEN GO. With Mirror Mode, you will have the ability to annotate directly on the DTEN Mate.
These two features are only available in Mirror Mode.
a. If you prefer Mirror mode, then select the image labeled DTEN Mirror Mode (Figure 16, left
image).
Zoom Rooms Controller (ZRC) ModeZRC mode allows you to utilize the DTEN Mate as a controller rather than as a touch screen display. In ZRC mode, users have the ability to start/stop meetings, admit attendees, control volume levels, adjust camera settings and much more. When used as ZRC, the DTEN Mate can interface with any other appliances attached to the Zoom Room, such as document cameras, additional microphone systems, etc. For more information, visit zoom.us.
b. If you prefer ZRC mode, then select the image labeled Zoom Room Controllers Mode (Figure 16, right image).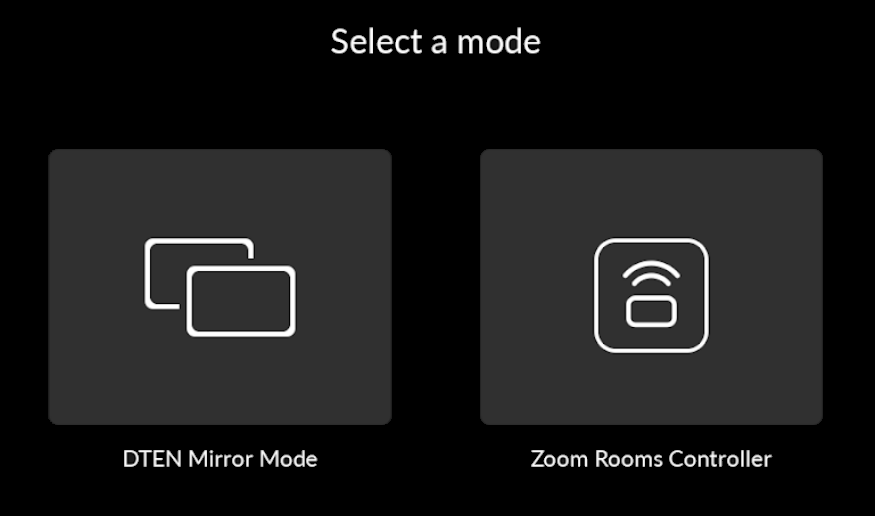
Figure 16. DTEN Mirror mode and Zoom Rooms Controller mode options
c. If you select Zoom Rooms Controller, a pop up window for Zoom Room Controller
will appear (Figure 18). You may click the I’ll sign out later button. However, you
must sign out of your Zoom account to switch to Zoom Room Controller (ZRC) mode.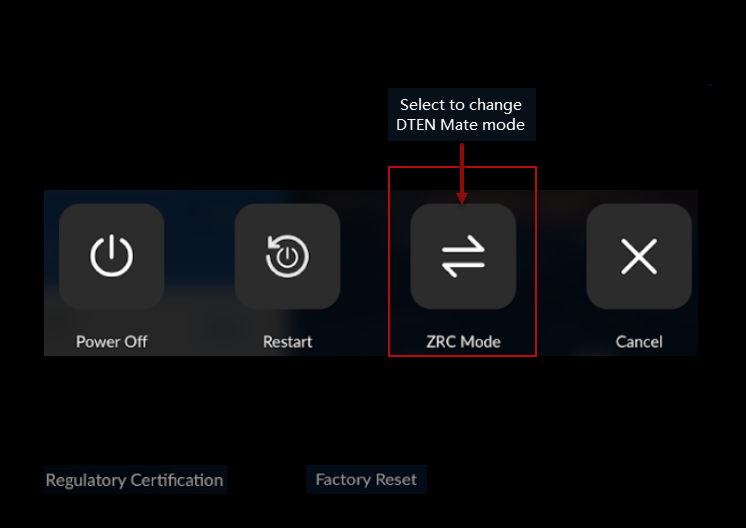
Figure 17. DTEN Mate Menu to change DTEN Mate mode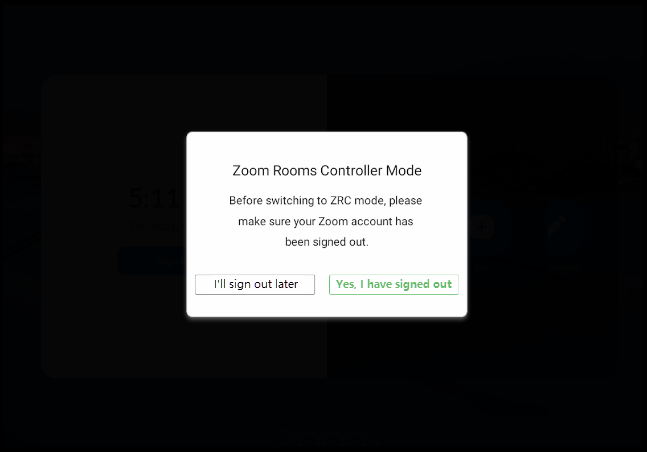
Figure 18. Zoom Room Controller Mode
Orbit Activation (Optional)With DTEN Orbit, access powerful management and maintenance device tools that will allow centralized access to device settings across all of your DTEN products. By activating an Orbit account, you also gain personalized access to DTEN’s comprehensive customer success and support network, a one year manufacturer’s warranty and the opportunity to acquire an enhanced product warranty (the Orbit Pro plan, which offers additional features).
Orbit activation is not required to use DTEN Go and DTEN Mate.
If you do not desire to activate Orbit at this time, you may skip this step by clicking on the Continue later link (Figure 19, bottom-center). If you choose this option, the Zoom Room Controller will display (Figure 20).
Note: You will have 30 days from the date of purchase to activate your Orbit account and obtain a 1 year warranty and opt for an extended warranty.
-
To create a new Orbit account:
a. Click on the DTEN Terms of Use and Private Policy Agreement links and take a moment to
read the information.
b. Click the checkbox confirming you have read and accept the DTEN Terms of Use and Privacy
Policy agreement, and the I Agree button.
c. Next, click on the DTEN.COM/ACTIVATE link, or the Click here link (Figure 19) and enter the
4-digit activation code[8][9] displayed on your device (Figure 21).
If you already have an Orbit account:
a. Click on the I have a code link (Figure 22).
b. Enter the 6-digit code provided by your Orbit Administrator.
Note: You must click the checkbox and the I Agree button (Figure 19) to confirm that you have
read and agree to the DTEN Terms of Use and Privacy Policy Agreement before you can complete activation.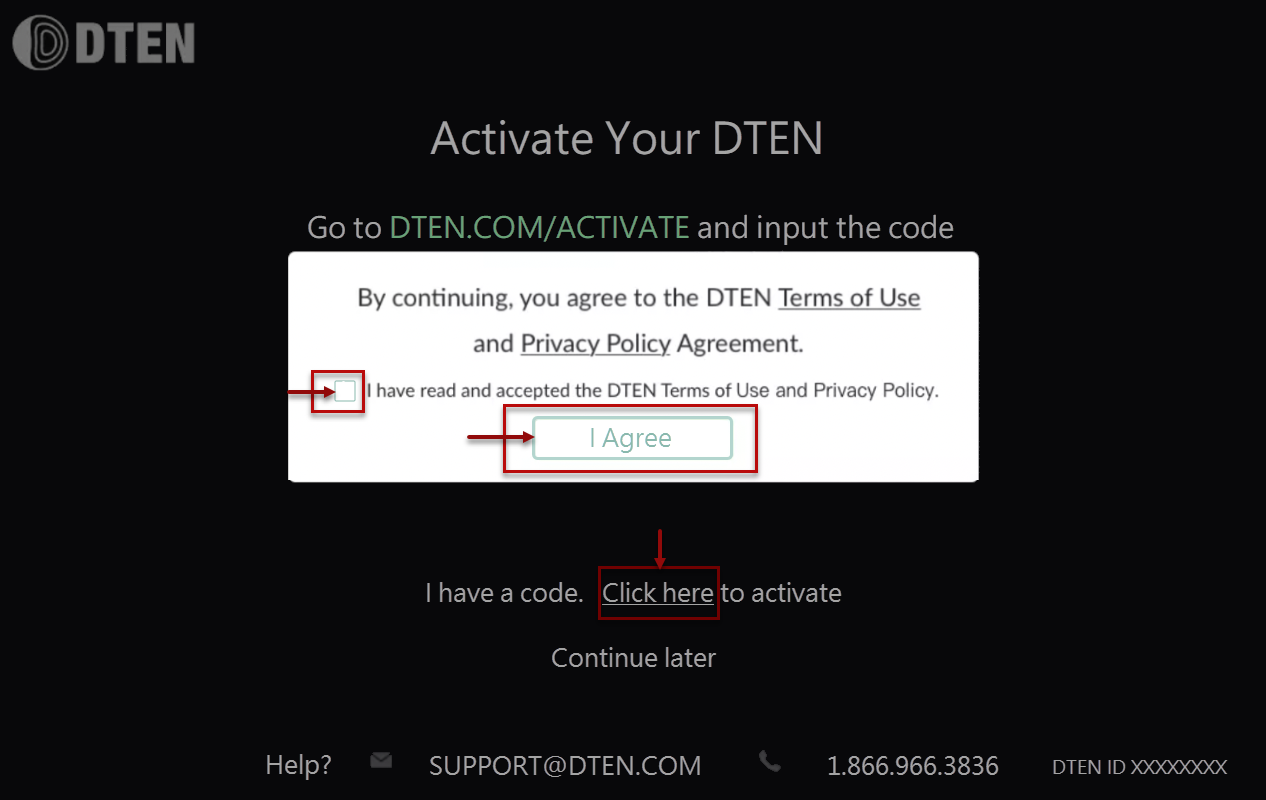
Figure 19. Orbit Activation Screen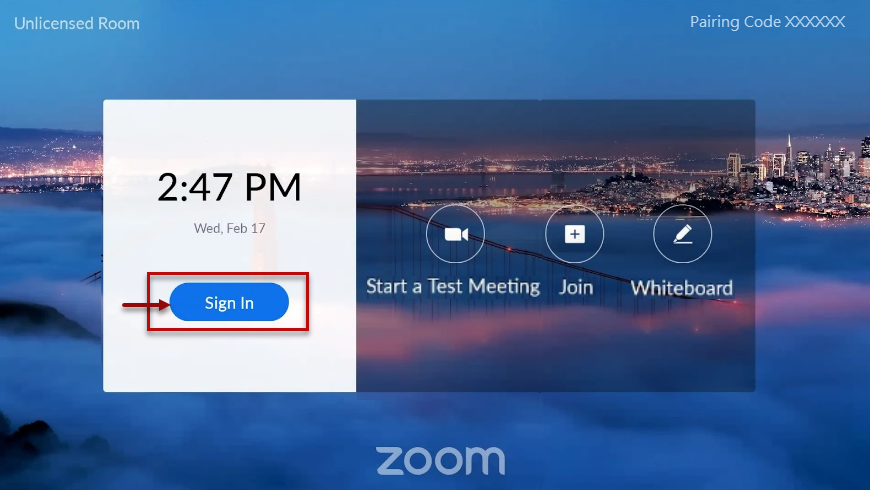
Figure 20. Zoom Rooms Console – appears if you choose “Continue Later” for Orbit Activation
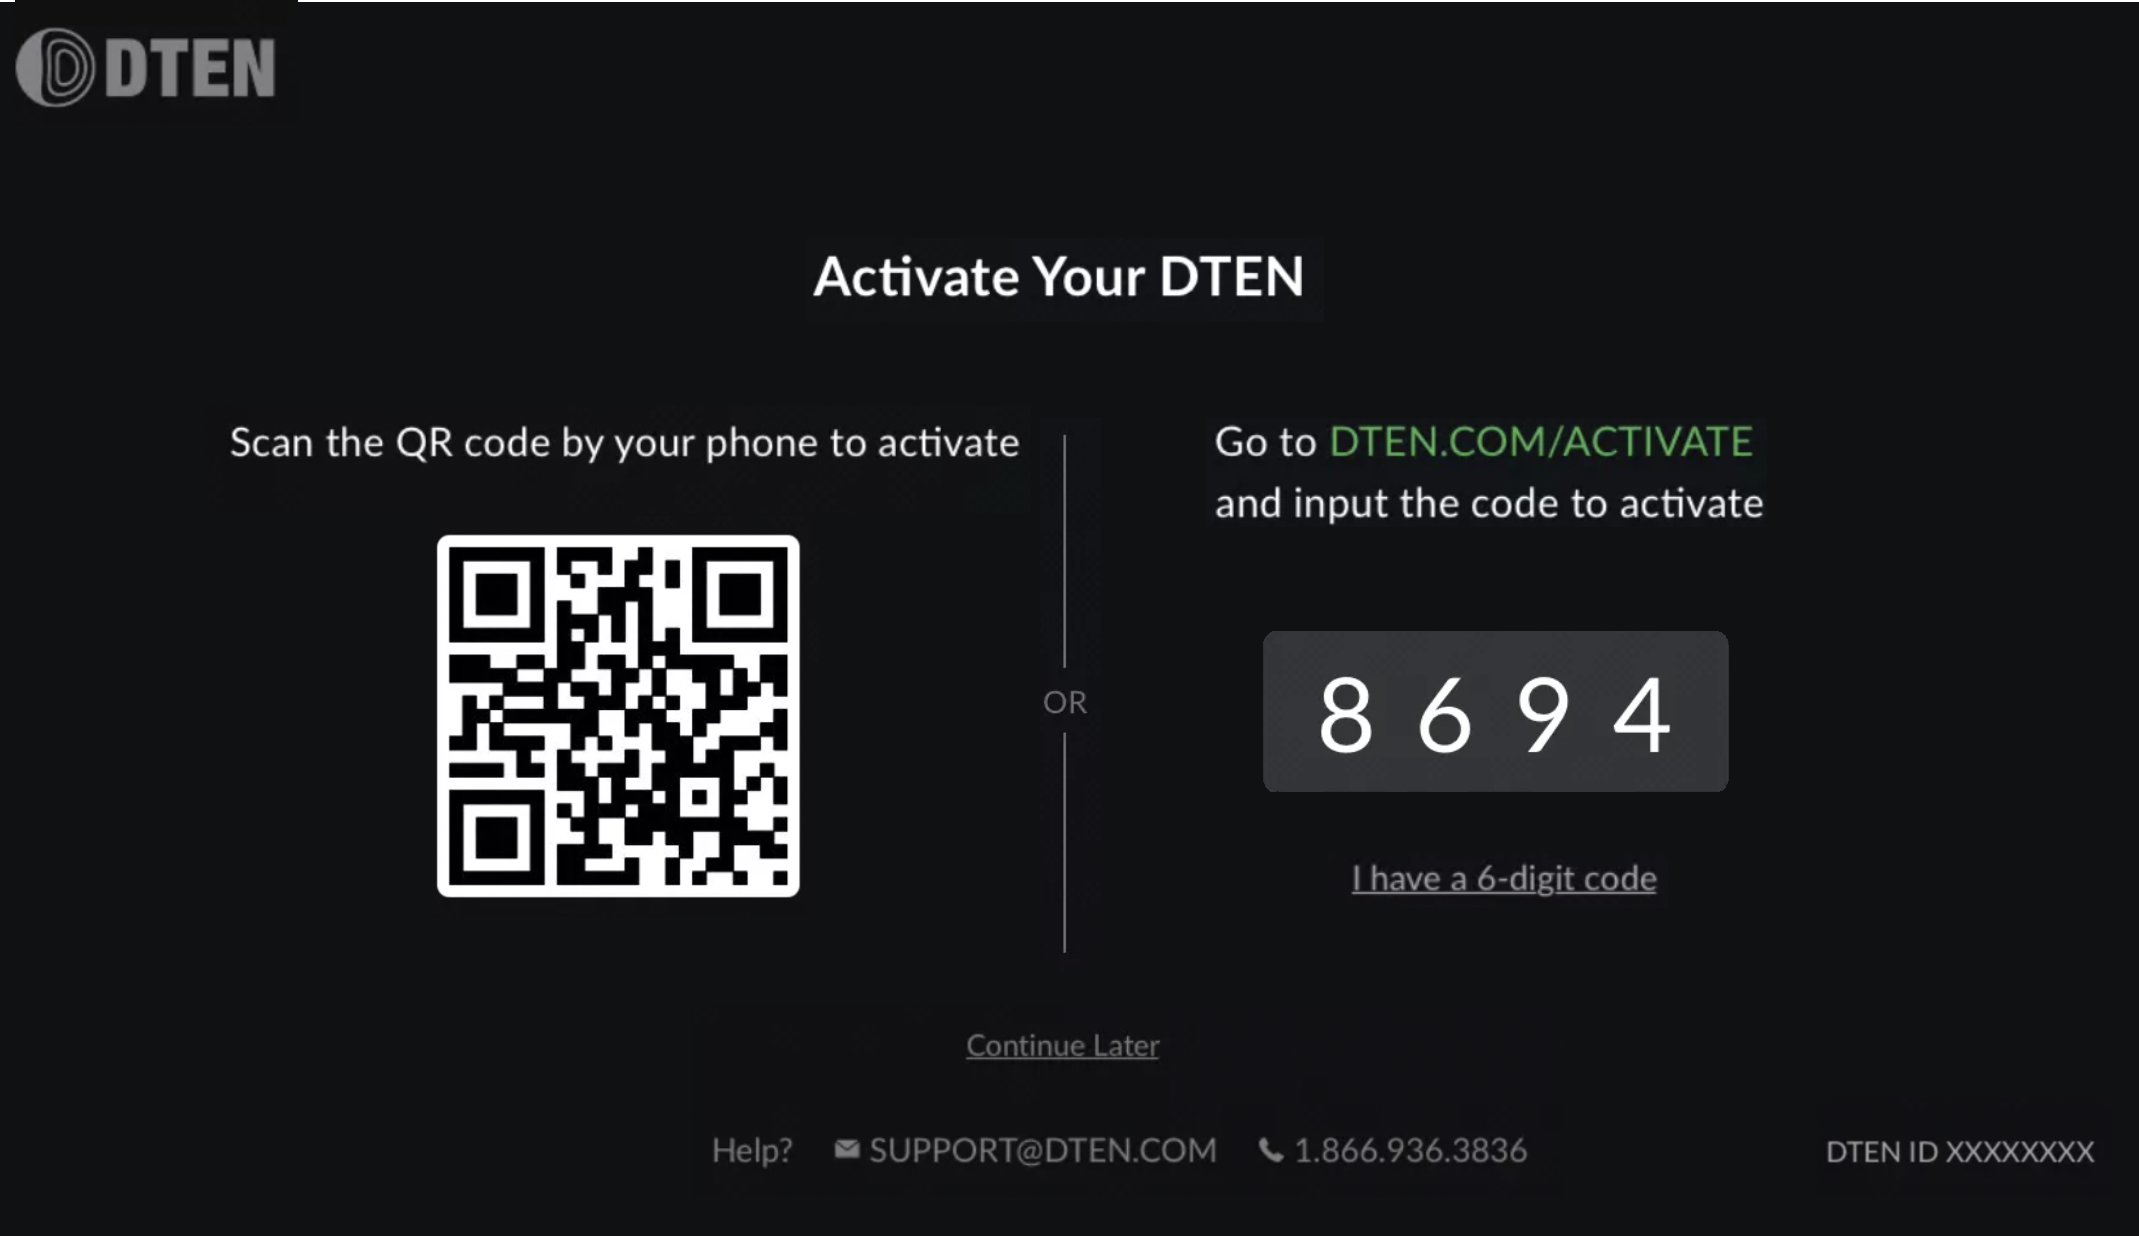
Figure 21. Orbit Activation Screen to Scan QR Code
Tip: You can triple tap on screen to zoom in, navigate with 2 fingers to fit to screen, and zoom out by triple tapping again.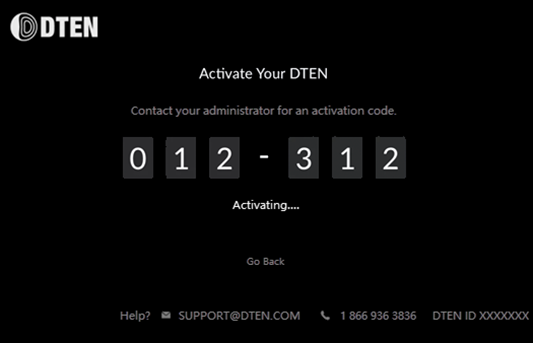
Figure 22. Orbit Activation Screen to enter code (if you already have an account)
If you have additional questions or need to contact DTEN Support, please refer to this DTEN Knowledge Base article for more details: HERE.
Was this article helpful?
That’s Great!
Thank you for your feedback
Sorry! We couldn't be helpful
Thank you for your feedback
Feedback sent
We appreciate your effort and will try to fix the article