
Prerequisites
- D7X Windows Series All in One Zoom Room Appliance
-
D7 Series All in One Zoom Room Appliance
-
Models:
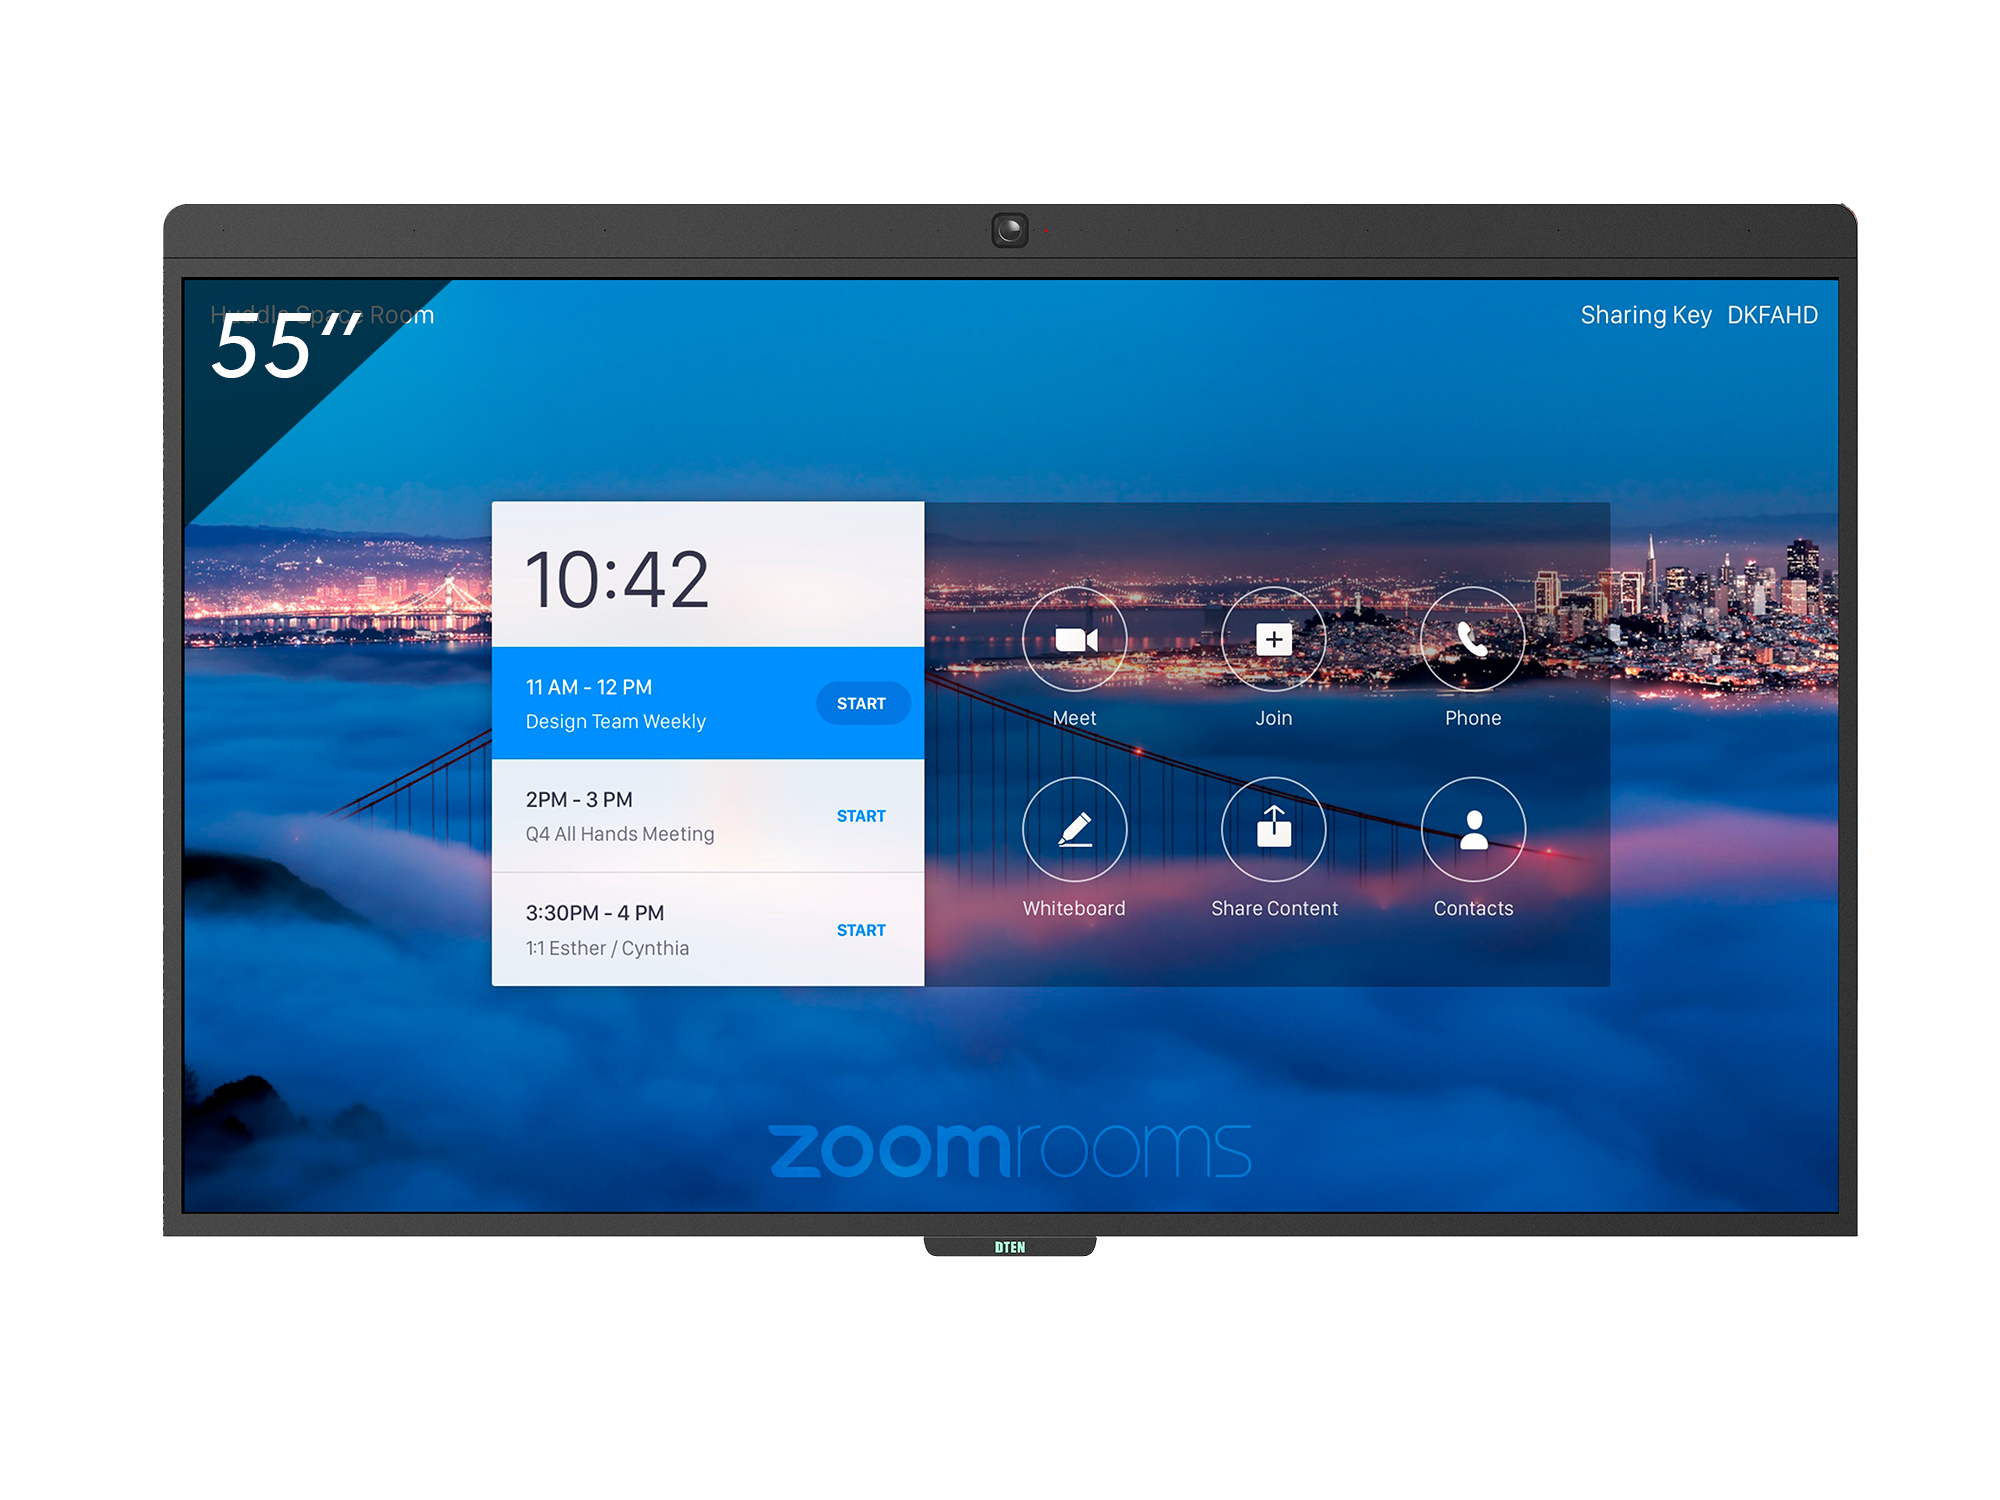
- DB50455 – 55” Display (Series 2)
- DB50475 – 75” Display
- Notes: Please note that these models (Series 2) have no DTEN logo light at the bottom, see below:
-
Models:
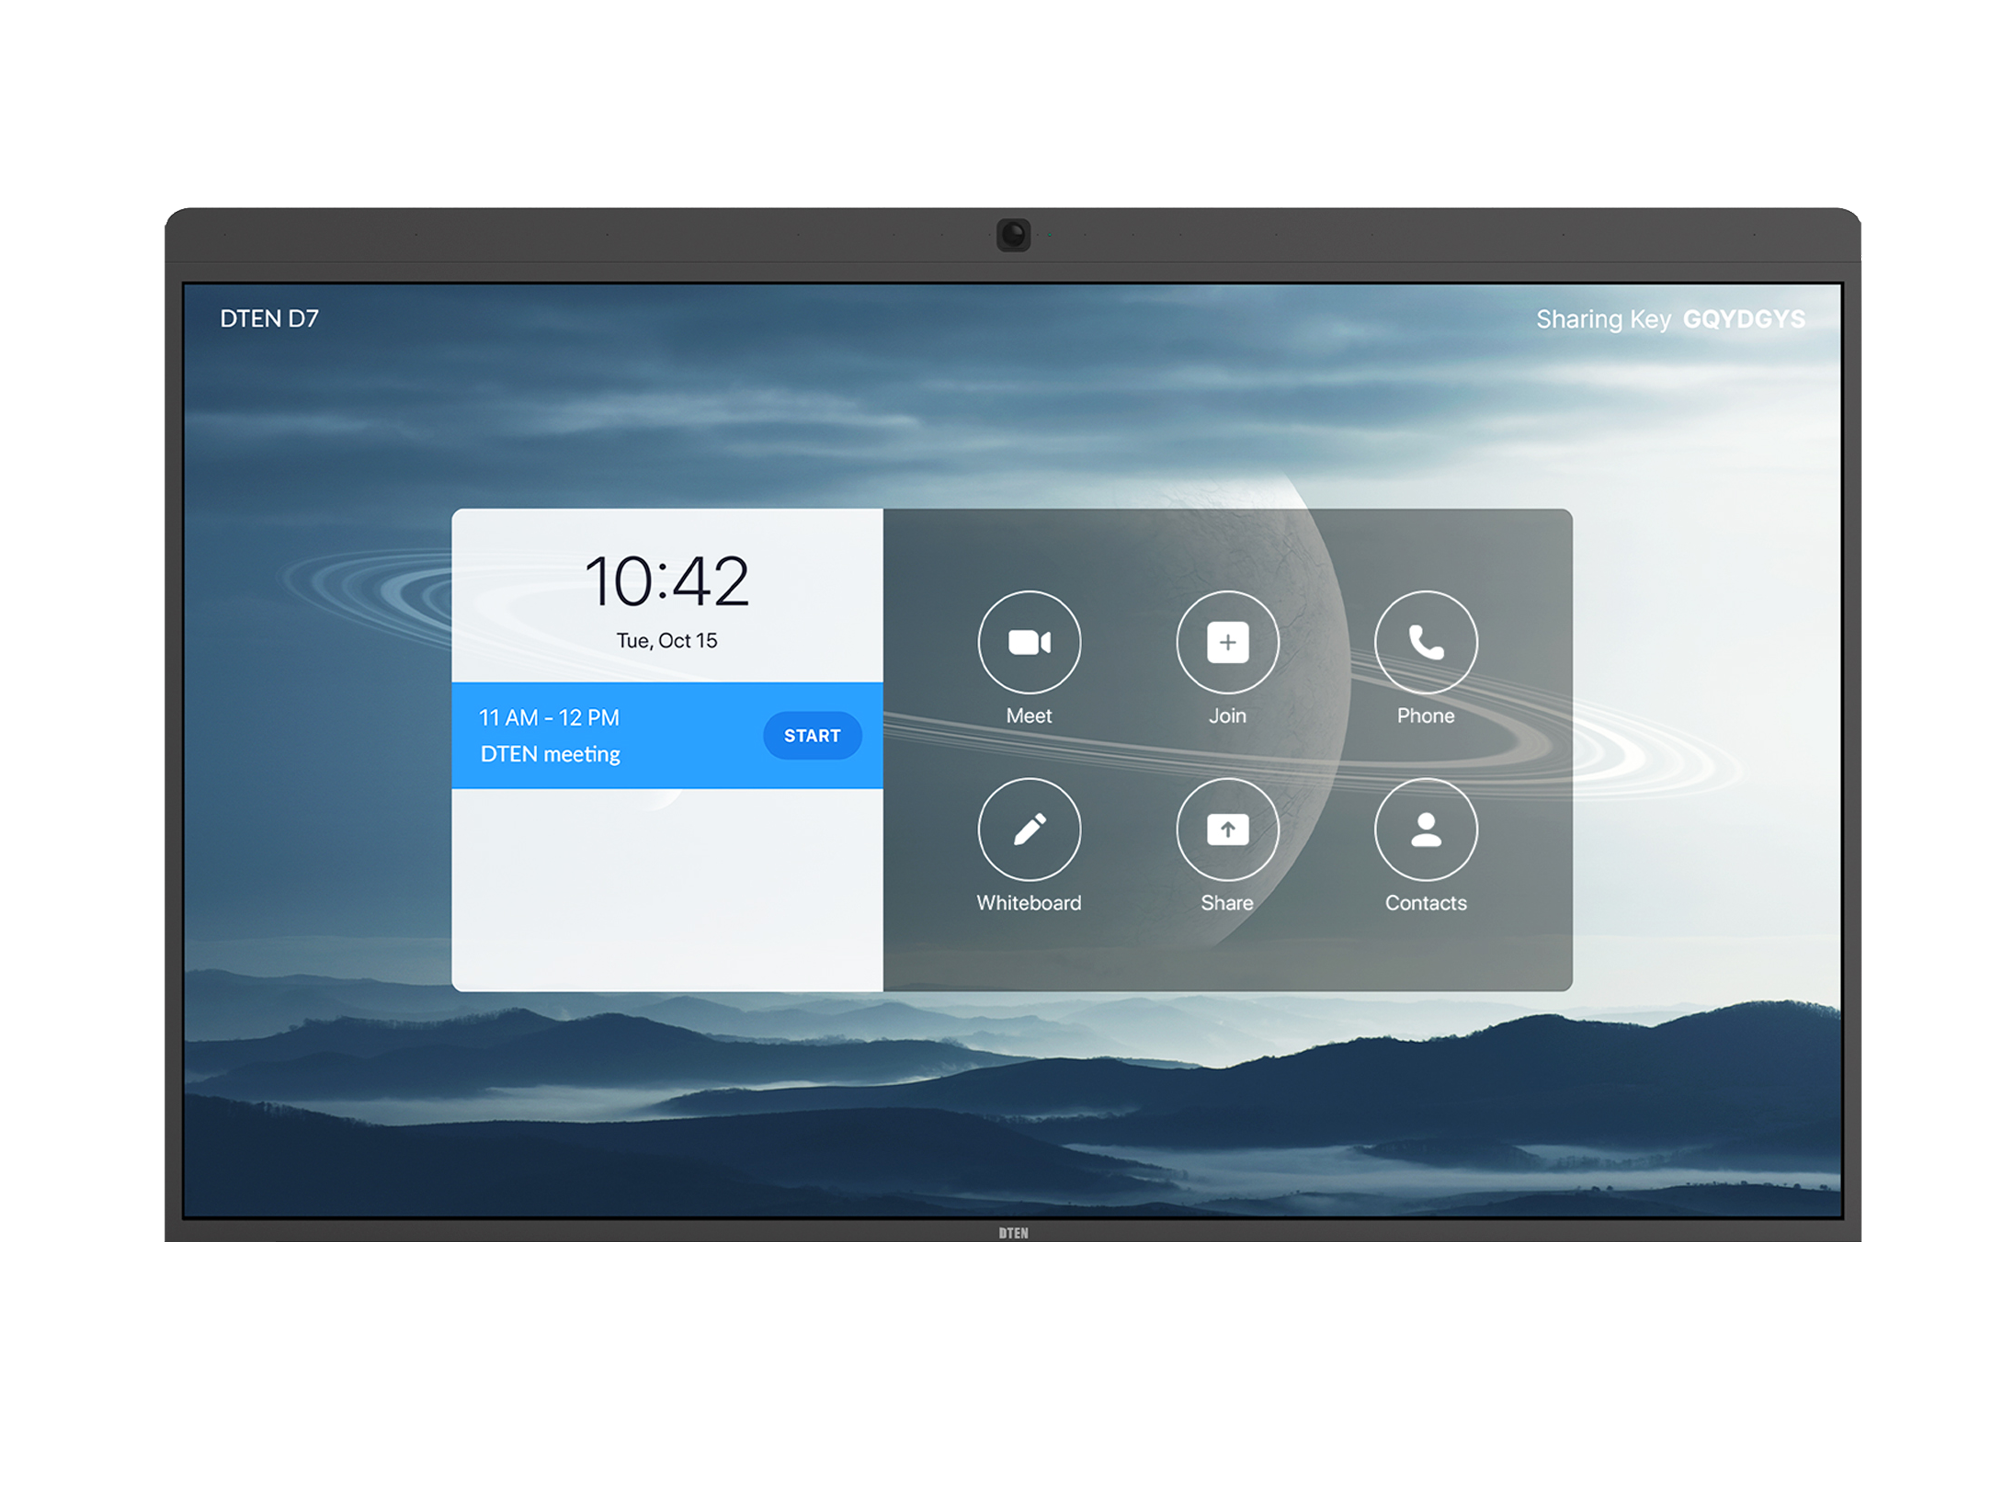
D7 55”/75” Series 1
D7 55”/75” Series 2
-
Firmware version:
- 2.5.0 and above for D7 Series 2
- Mininum firmware version for D7X-Windows
-
USB to RS-232 Adapter Cable or Dongle
- Prolific Technology PL2303 Chipset (All build versions under Windows 10 supported)
- The current driver installation package for PL2303 Chipset
Setup & Configuration Instructions
- Enter the Settings Screen in Zoom Rooms by selecting either the Settings button or Gear Icon located in the bottom right corner of the D7 Series display.
- Select the General Tab of the Settings dialog and select Windows Settings.

- Enter the Zoom Rooms access code either 0000 or 97979797 (by default) in the popup dialog box and select Continue.
- Select the ZoomAdmin account from the two (2) accounts shown on the bottom left of the Windows Login screen.
- Login to the ZoomAdmin account using the ZoomAdmin password: Zoom1234.
- Download the current driver installation package from the attachments.
- Place the downloaded file on an external USB thumb drive.
- Plug the USB thumb drive into one (1) of the two (2) USB ports on the OPS PC located in the rear of the D7 Series display, and extract the zip file to the desktop.
- Open the extracted folder on the desktop and select the file labeled PL23XX-M_LogoDriver_Setup_v2xxxx.exe.
- Double click on the file labeled PL23XX-M_LogoDriver_Setup_v2xxxx.exe and follow the on-screen instructions to install.
- Once the installation has completed, reboot the OPS PC.
- Once the reboot has completed, repeat Steps 1 through 5 to log back into the ZoomAdmin account.
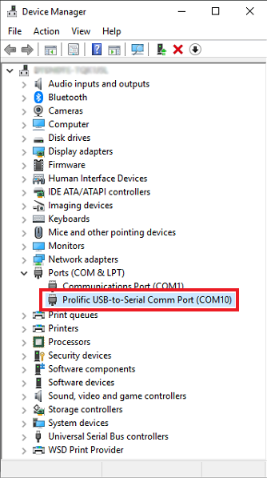
- From the Taskbar select the Search icon and search for Device Manager.
- Select and enter the Device Manager.
- Highlight and Select the Ports (COM & LPT) settings.
- Select the Prolific USB - to Serial Comm Port (ComXX) driver from the drop-down list.
- Double Click or Right Click and select Properties to open the Properties dialog box.
| Parameter | Value |
| Baud Rate: | 115200 |
| Data bits | 8 |
| Parity: | None |
| Stop Bits: | 1 |
| Flow Control: | None |
| Cable Type: | Straight |
- Highlight the Port Settings tab and configure the Prolific USB driver settings.
- Once settings are selected press OK.
- Reboot the OPS PC.
RS232 Pinout
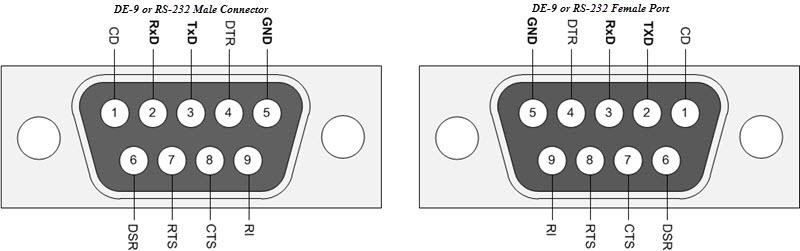
Pins 2 (TX), 3 (RX), and 5 (GND)
RS232 Commands
| Command | Send | Receive |
| POWER COMMANDS | ||
| Wake | BB A2 C3 4E 6C 8F 01 | N/A |
| Sleep | BB A2 C3 4E 6C 8F 00 | N/A |
| *Power Off | 99 01 05 01 FA AA | N/A |
| SOURCE COMMANDS | ||
| Input PC | FE 60 00 24 00 AA | N/A |
| Input HDMI | FE 60 00 23 00 AA | N/A |
| VOLUME COMMANDS | ||
| Volume Level | 99 0A FA 11 00 |
99 0A FA 11 XX (XX Represents the Current Volume Level) |
| Volume Up | 99 01 17 01 E8 AA | N/A |
| Volume Down | 99 01 18 01 E7 AA | N/A |
| Mute (Toggle) | 99 01 02 01 FD AA | N/A |
| STATUS COMMANDS | ||
| Current Source | 99 0A FA 12 00 | 99 0A FA 12 01 (PC) |
| 99 0A FA 12 02(HDMI) | ||
| Current Status | 99 0A FA 10 00 | 99 0A FA 10 01 |
*Note the Power Off command turns off the display and OPS PC. The display will have to be powered on
via its physical Power on button on the display’s rear.
Recommended USB to RS-232 Adapter Cables or Dongles
Female Cables
- 6.6’ USB-A to RS232 Female Cable
- 6.6’ USB-A to RS232 Female Cable
- 6.6’ USB-A to RS232 Female Cable
- USB-A to Female RS232 Adapter
Male Cables
- 3.3’ USB-A to RS232 Male Cable
- 6’ USB-A to RS232 Male Cable
- 6’ USB-A to RS232 Male Cable
If you have additional questions or need to contact DTEN Support, please refer to this DTEN Knowledge Base article for more details: HERE.
Attachments
Was this article helpful?
That’s Great!
Thank you for your feedback
Sorry! We couldn't be helpful
Thank you for your feedback
Feedback sent
We appreciate your effort and will try to fix the article